Custom Fields
"Custom Fields" play a vital role in your Pocket Business System. They provide you the ability to store valuable information that can help you better understand your leads and customers. Additionally, they can be used for data validation to ensure that the information you collect is in the correct format.
It's important to note that these fields apply to all leads and customers in your account, not just individual ones, and can be grouped together to keep related information organized. By utilizing "Custom Fields," you can improve your efficiency and response rate for repetitive tasks, such as by using the stored information as unique keys in your email templates.
Notes
Last Updated : 10 February 2023
Available : All Packages
Location : Settings > Custom Fields
List of Default Fields
The default contact fields that cannot be altered or deleted, are referred to as "Standard Fields." These fields are an integral part of the system and cannot be modified:
Contact
First Name
Last Name
Email
Phone
Date Of Birth
Contact Source
Contact Type
General Info
Business Name
Street Address
City
Country
State
Postal Code
Website
Time Zone
Custom Fields Settings
1. Settings
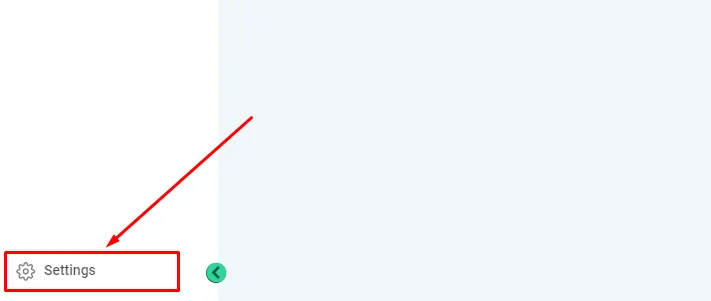
To view your "Custom Fields" , navigate to the "Settings" section, located at the bottom left corner within Pocket-Business.
2. Custom Fields
Under the "Settings" section, find the "Custom Fields" option in the left menu. Please note that the appearance of the menu may vary depending on your package with us.

Folders
1. View Folders
Folders provide a way to organize your leads and customers information into groups. To access Folders, simply click on the "Folders" section in the top tab bar.
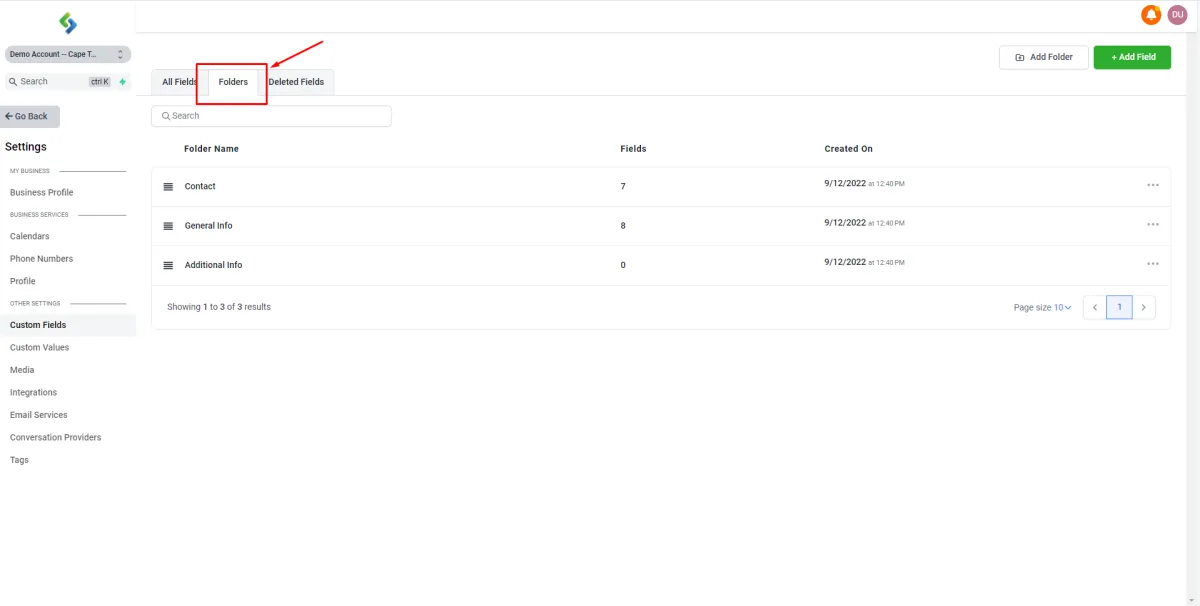
In the Folders list, you will see three default folders: Contact, General Info, and Additional Info. These folders cannot be deleted, however, you can move some of the standard fields within these folders to different folders. The Contact and General Info folders already contain the standard fields, as mentioned earlier, but the Additional Info folder is blank and is meant for fields that you would like to add without creating a new folder or adding them to the Contact or General Info folder.
2. Adding new Folders
You can add your own folders by clicking the "Add Folder" button on the right-top of the screen.

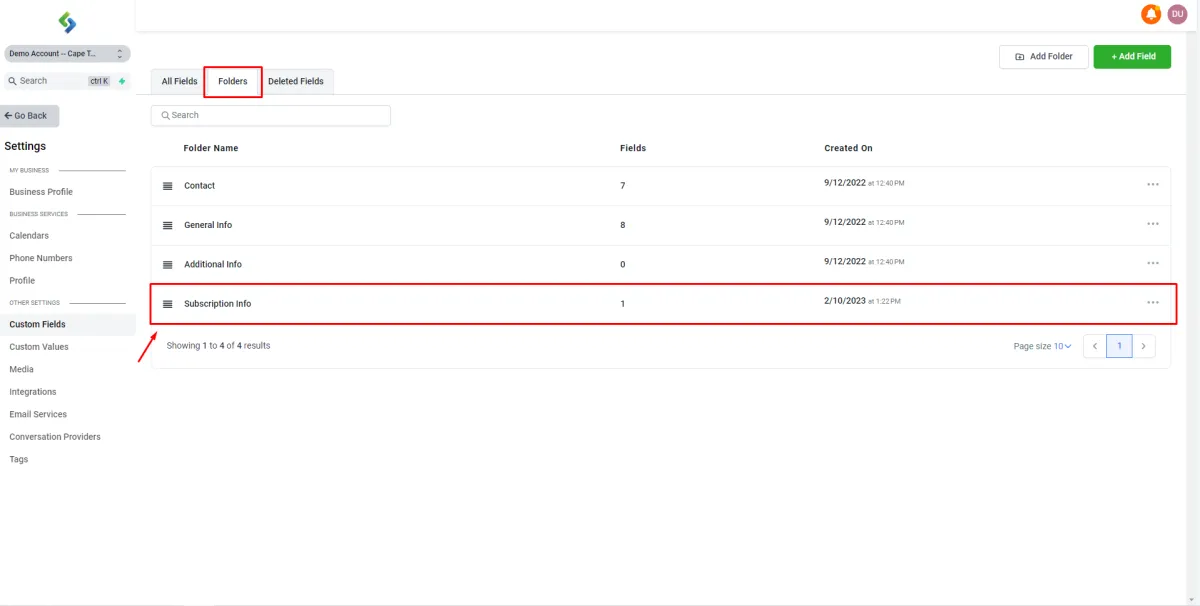
Once you click on the "Add Folder" button, you can name your folder and click "Save." As an example, you can create a folder named "Subscription Info" to group together Custom Fields related to your leads or customers.
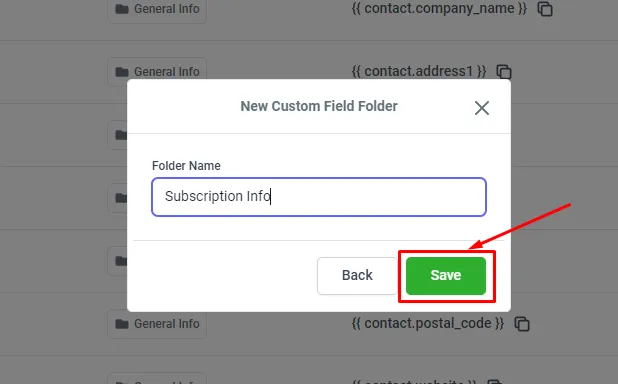
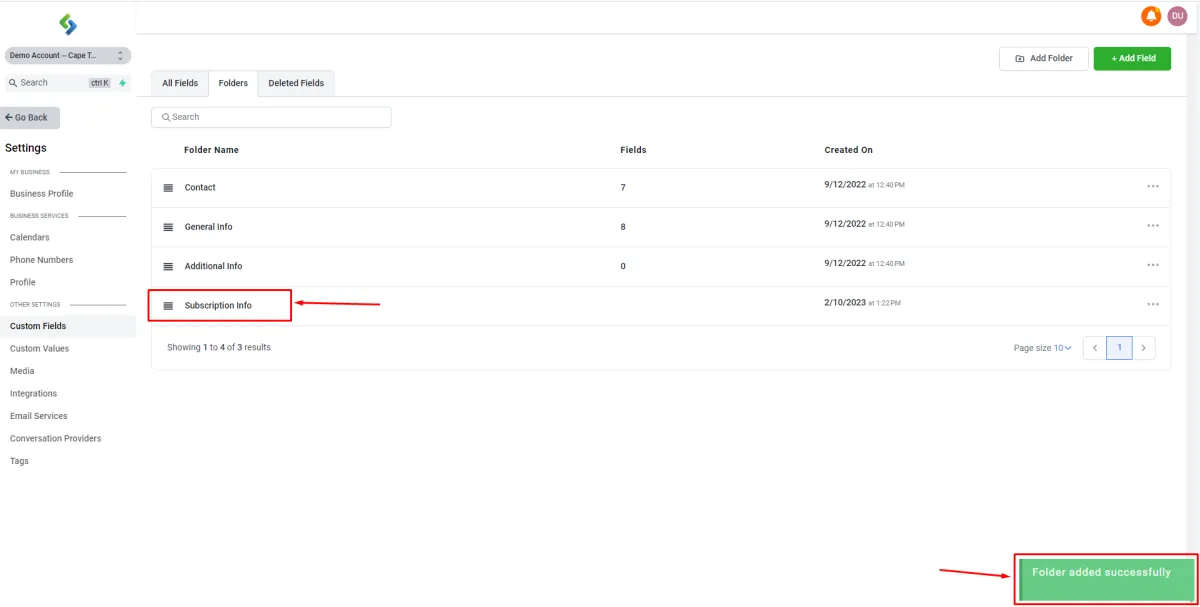
After clicking "Save," you'll see a green success message in the bottom right corner if the folder was created successfully. You can now view the newly created folder under the "Folders" section.
3. Update/Delete Folders
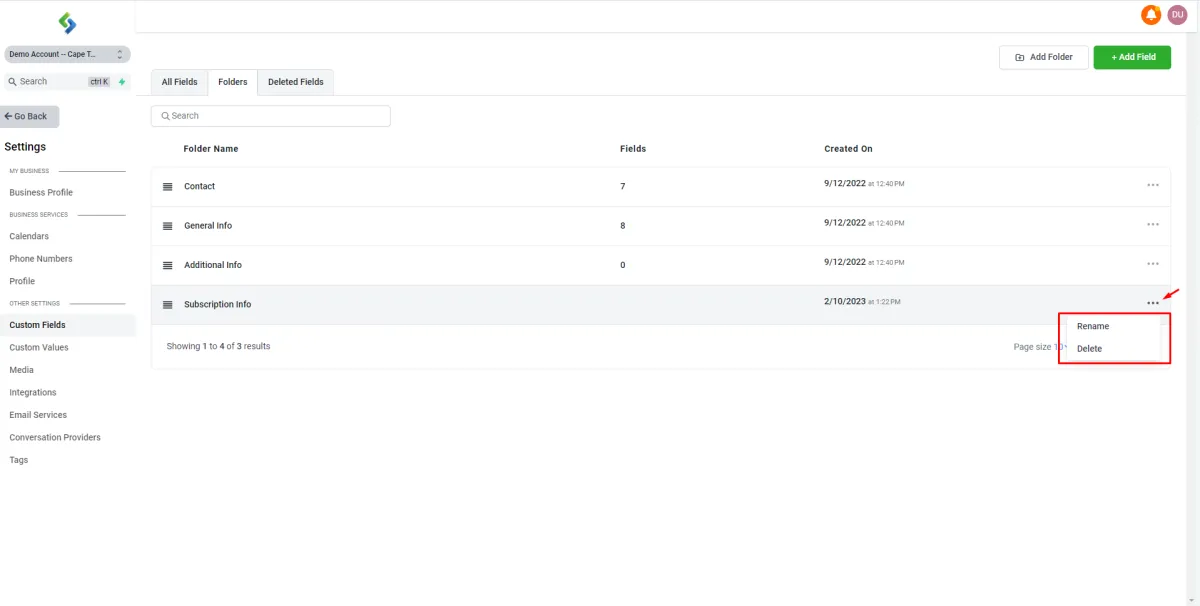
You can rename Folders or delete Folders by clicking on the menu option next to them within the list of folders, there you can either rename it or delete it
Fields
1. Standard and Custom Fields
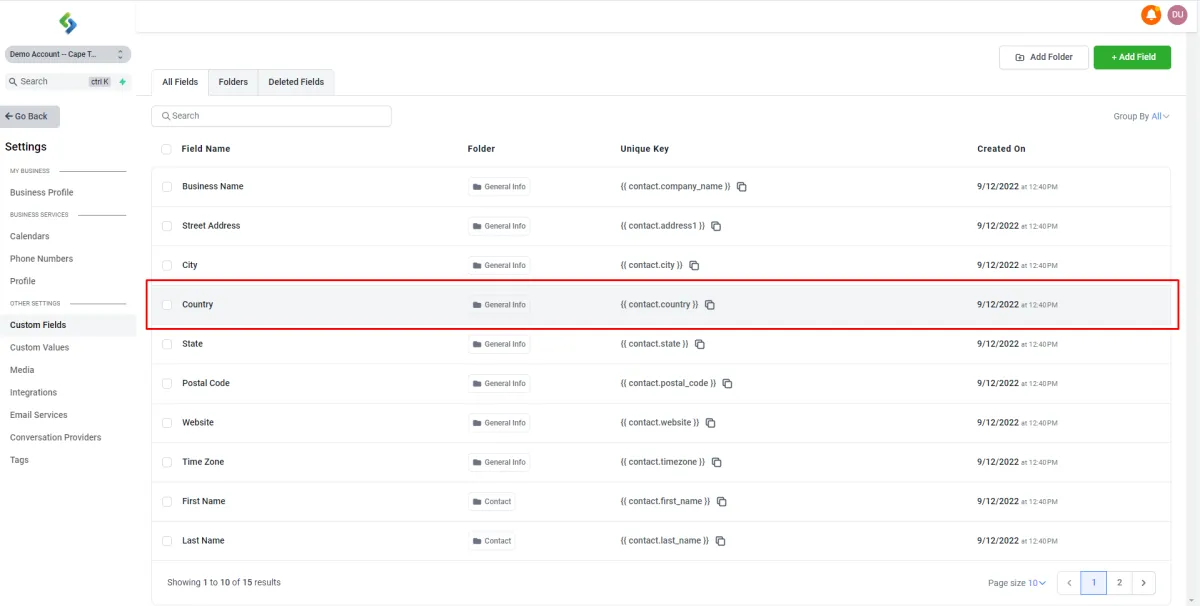
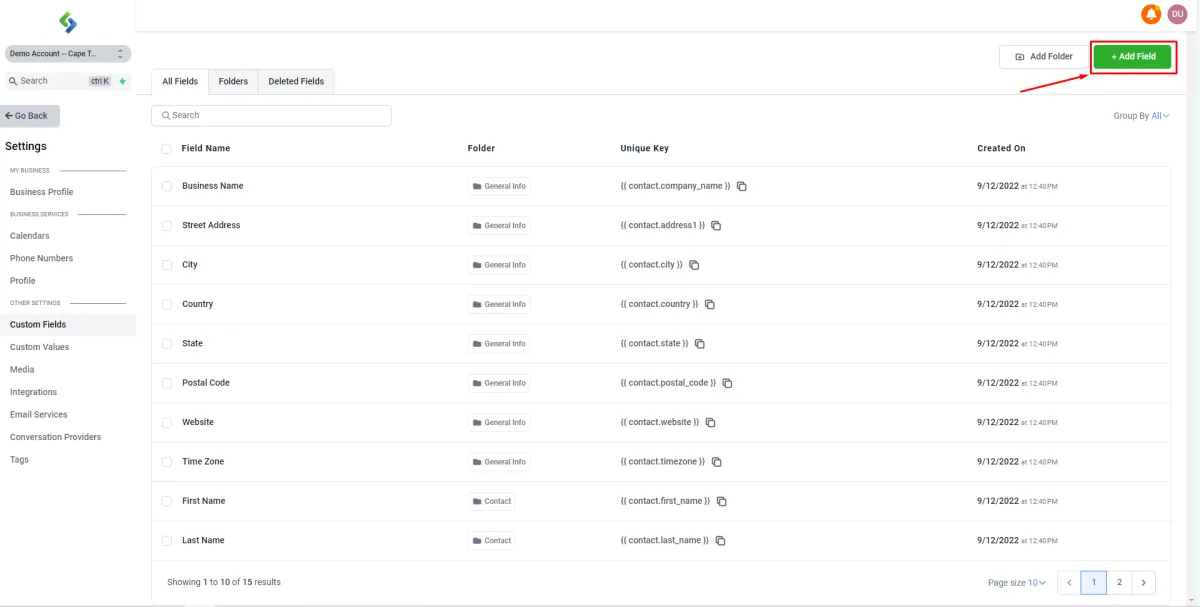
When you access the "Custom Fields" settings, you will see a comprehensive list of all your Standard Fields and Custom Fields. This list will display the Field Name, the Folder it belongs to, the Unique Key for use in email templates, and the date the field was created. This information makes it easy for you to manage and organize your fields.
2. Add Custom Field
To create your own Custom Field click on the "Add Field" button on the top right side of your screen.
2. Data Validation
Custom Fields do have Data Validation to some extent, following are a list of types of fields that you can create to help you collect the correct data in the correct format
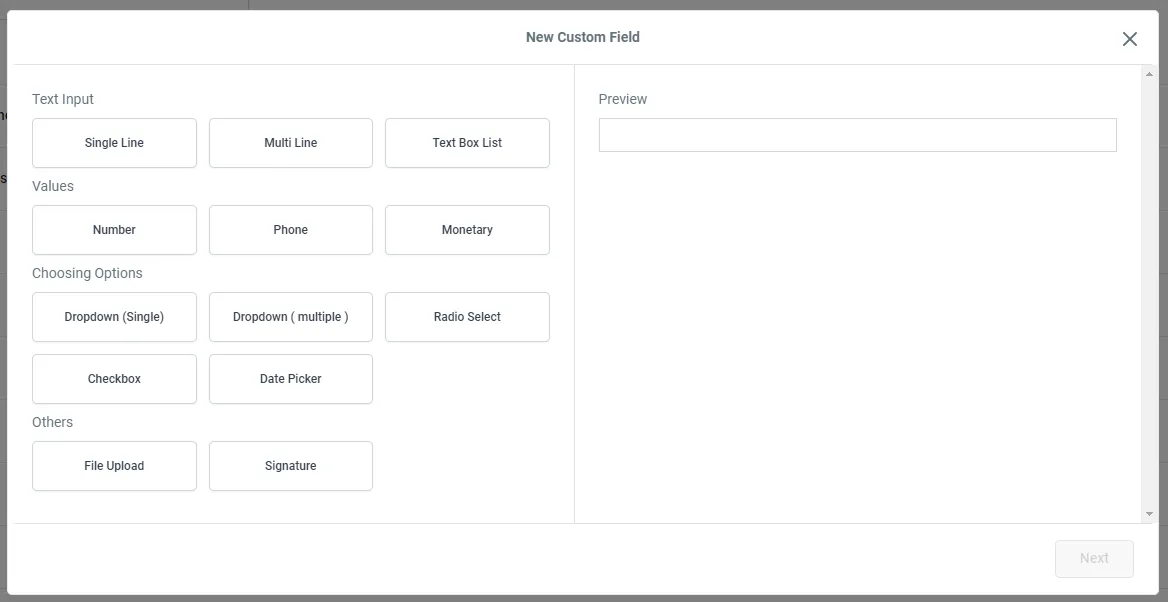
Single Line - Ideal for entering brief text.
Multi Line - Provides ample space for longer text inputs beyond the standard single line field.
Text Box List - Ideal for capturing multiple short text inputs as answers to multiple questions, all stored in one field.
Numbers - Designed for numerical input only.
Phone - Perfect for capturing phone number information.
Monetary - Allows you to enter monetary values, with the currency automatically set to match your account's location.
Dropdown (Single) - Offers multiple options to choose from, with only one selection possible.
Dropdown (Multiple) - Gives you the ability to select multiple options from a set of choices.
Radio Select - Limits selection to a single option from a set of options.
Checkbox - Allows you to select multiple options from a set of choices.
Date Picker - Designed for selecting a specific date.
File Upload - Enables you to upload files in various formats or in specified formats only.
Signature - Captures digital signatures.
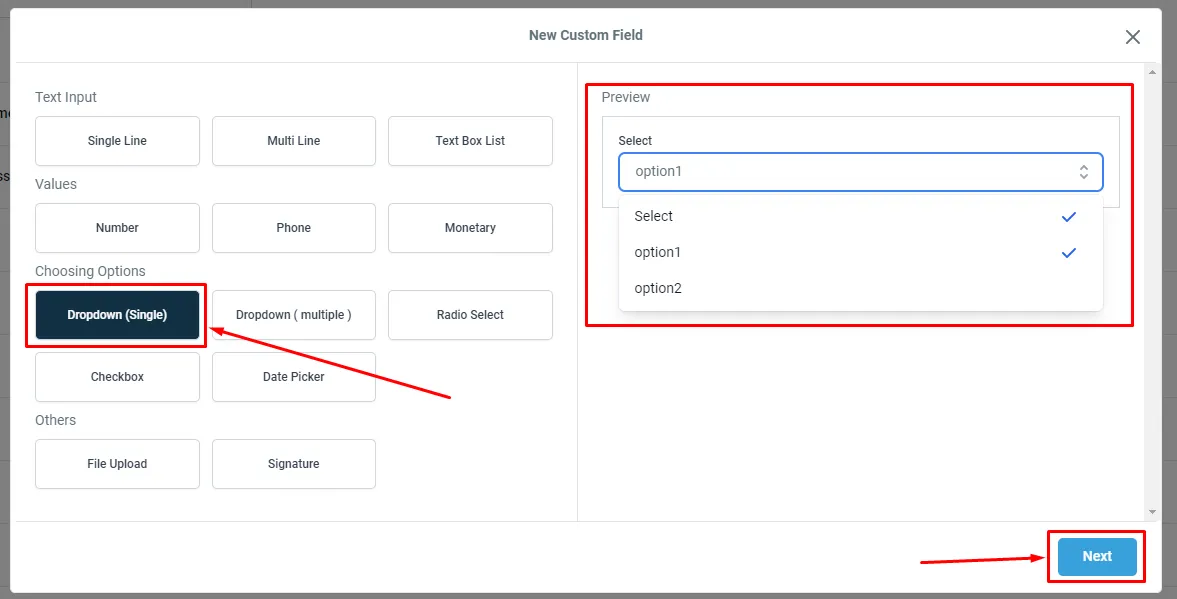
2. Select Field Type
When you choose a field type, you'll see a preview example on the right side of the screen that you can interact with. This will give you a sense of what the field will look and feel like. In this tutorial, I've chosen a dropdown box as an example.
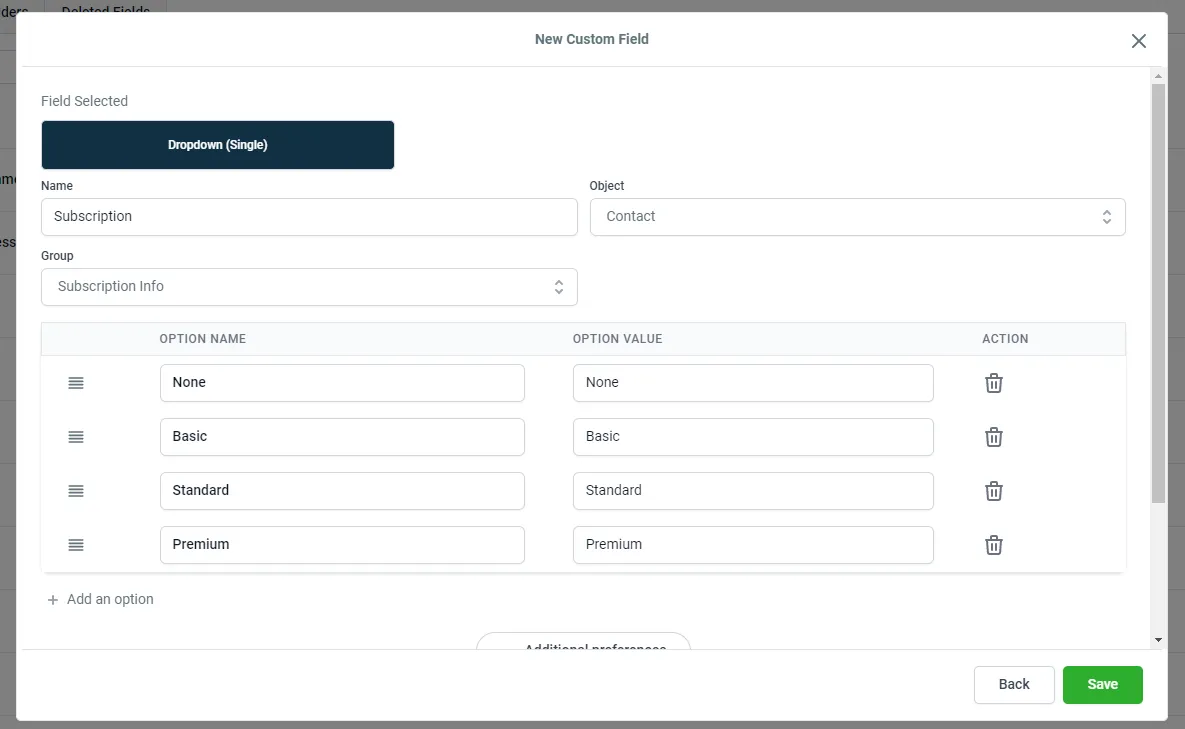
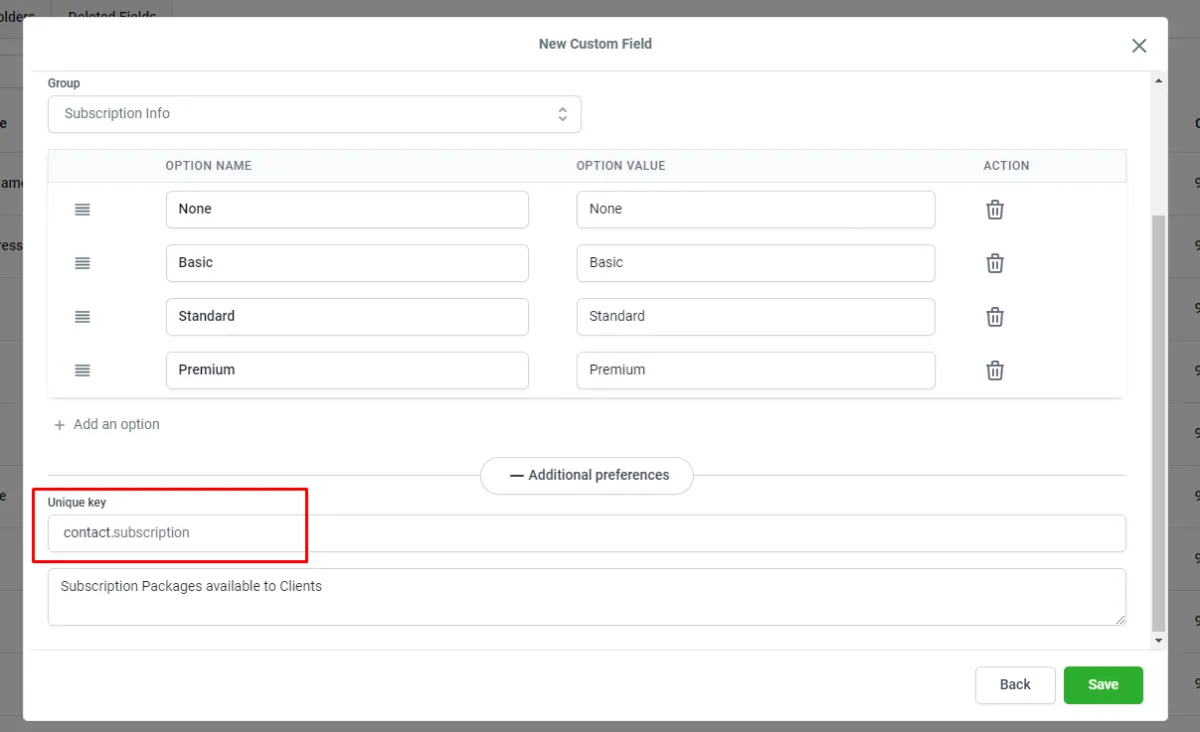
2. Custom Field Details
To create your custom field, give it a name and select the group you want it to be listed in. Right now, the only available option for the "Object" box is "Contact". In the future, you'll be able to add custom fields to companies and other objects. The custom field type you select will determine the options you see on the screen. For example, if you choose a Single Line Text field, you'll be able to add a placeholder that will appear in your form. To learn more about forms, check out the Forms Guide. If you selected a Dropdown box, you can add multiple options for your contacts to choose from. Simply click the "Add an Option" button to add more options.
Once you're done with the basic settings, move on to the "Additional Preferences" section. Here, you can define the unique key. By default, the unique key will be the same as your custom field name. The unique key is used throughout the Pocket Business System to reference the information stored in this custom field. For example, if your custom field name is "Subscription", you can use in email templates to display this information to your clients. To learn more about email templates, refer to the Email Templates Guide. It's important to note that unique keys must be unique and cannot be reused for other custom fields. If you need to make changes to a custom field, you can edit it, but you cannot change the unique key or custom field type. To do so, you'll need to delete the custom field and recreate it.
Once you've finished, click "Save" to finalize your changes. You can then move on to creating another custom field or view all your custom fields in the "Fields" tab or by going to "Folders" and selecting the folder where your custom field is assigned.
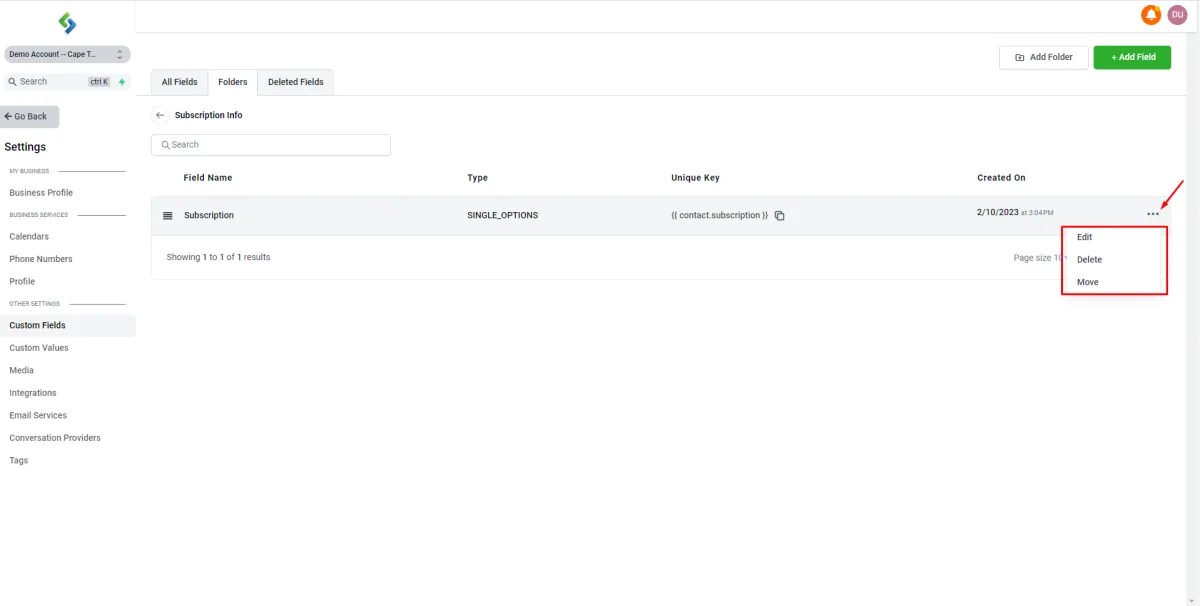
2. Updating/Moving/Deleting Custom Fields.
If you want to make changes to a custom field, such as updating, moving, or deleting it, go to the "Folders" tab. Find the folder where the custom field was created and click on it. You'll see options on the right side of the custom field that you can use to make the changes you need.